Before you create a scratch org it is necessary to do the following steps:
- Set up your Salesforce DX project
- Authorize the Dev Hub org
- Create the scratch org definition file
The Dev Hub org allows you to create, delete, and manage your Salesforce scratch orgs. After you set up your project on your local machine, you authorize with the Dev Hub org before you can create a scratch org.
You can also authorize other existing orgs, such as sandbox or packaging orgs, to provide more flexibility when using CLI commands. For example, after developing and testing an application using scratch orgs, you can deploy the changes to a centralized sandbox. Or, you can export a subset of data from an existing production org and import it into a scratch org for testing purposes.
Step 1: Create a project.
Step 2: Press Ctrl+Shift+P, Enter "SFDX: Authorize a Dev Hub" as shown below. This will take us to login page.
STEP 3: Enter the login id and password.
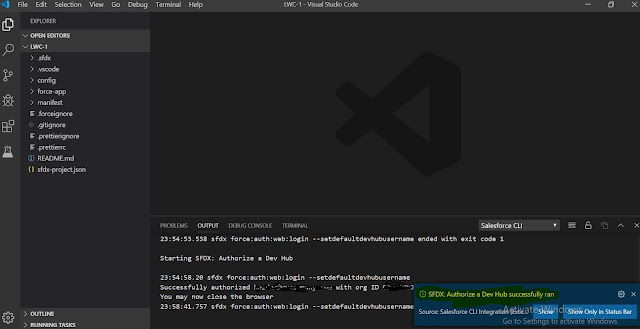
Step 4: Go back to Visual Code Studio where we can see the status of authorization as shown below.
Step 5: To create a scratch org we need to enable a dev hub as shown in the below images.
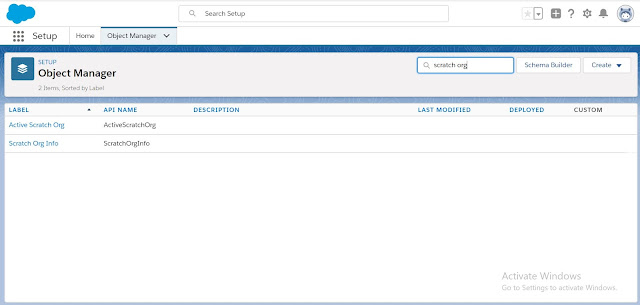
Step 6: These are the two new objects which are created after we enabled dev hub in our org as shown below.


No comments:
Post a Comment